


🚀Introduction
In this blog, we will run an HTML file within a private subnet as depicted in the provided screenshots. Follow the instructions exactly as shown in the images.
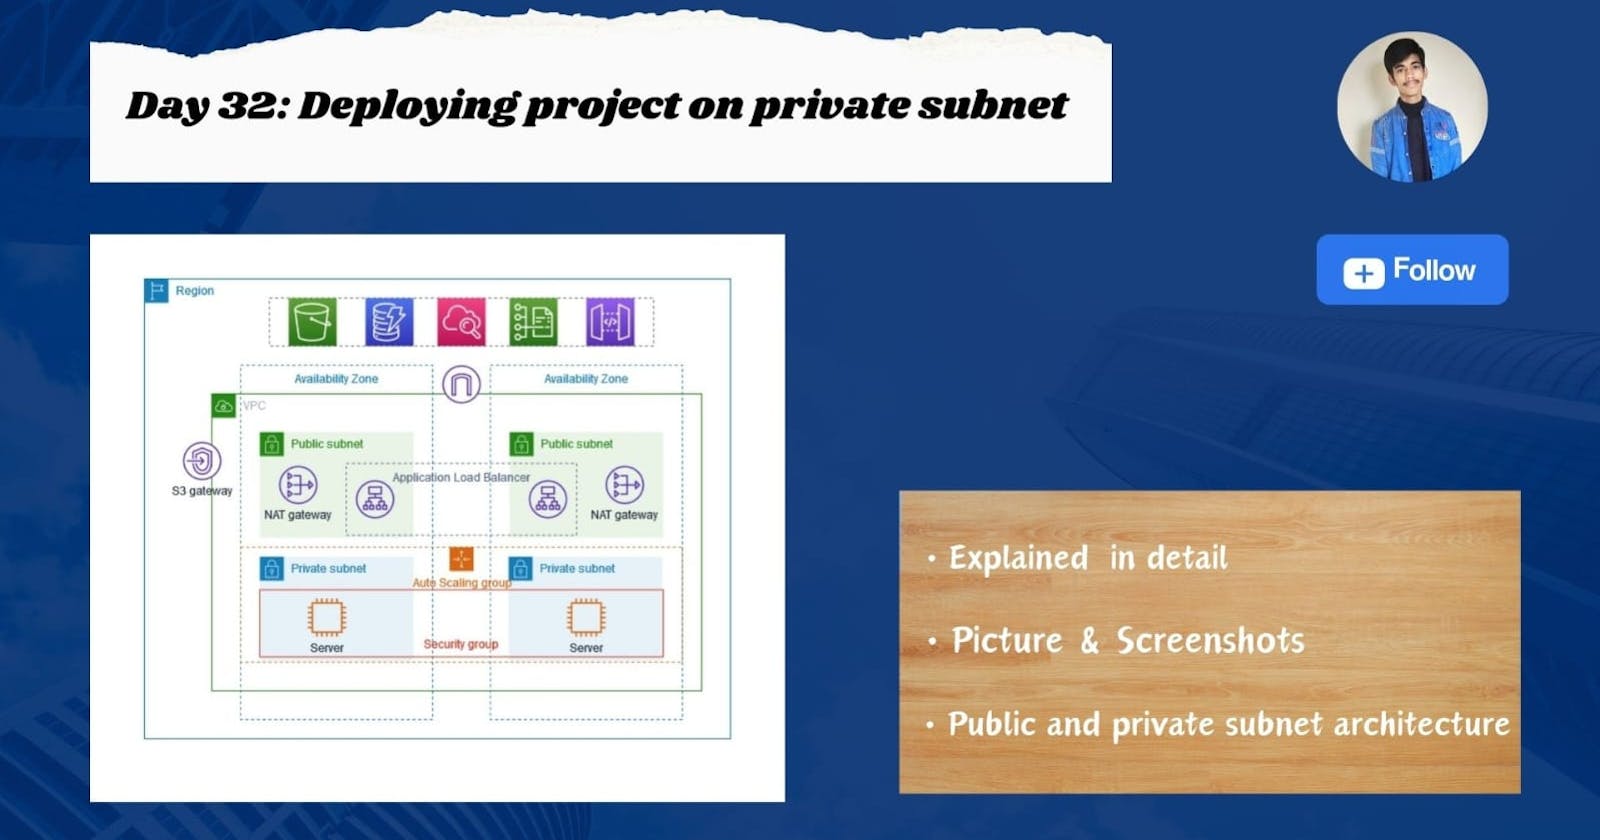
The VPC public and private subnet architecture is shown below, like this we are going to create in this blog.

🔸Step1: Create VPC
Select VPC and more option it will create & attach everything for you such as subnet, route table, internet gateway, and NAT gateway.

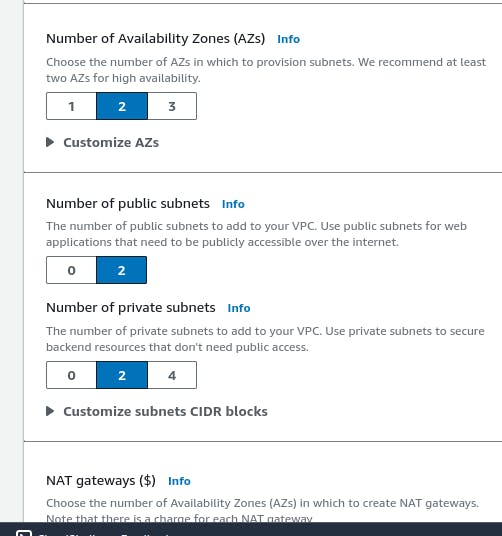

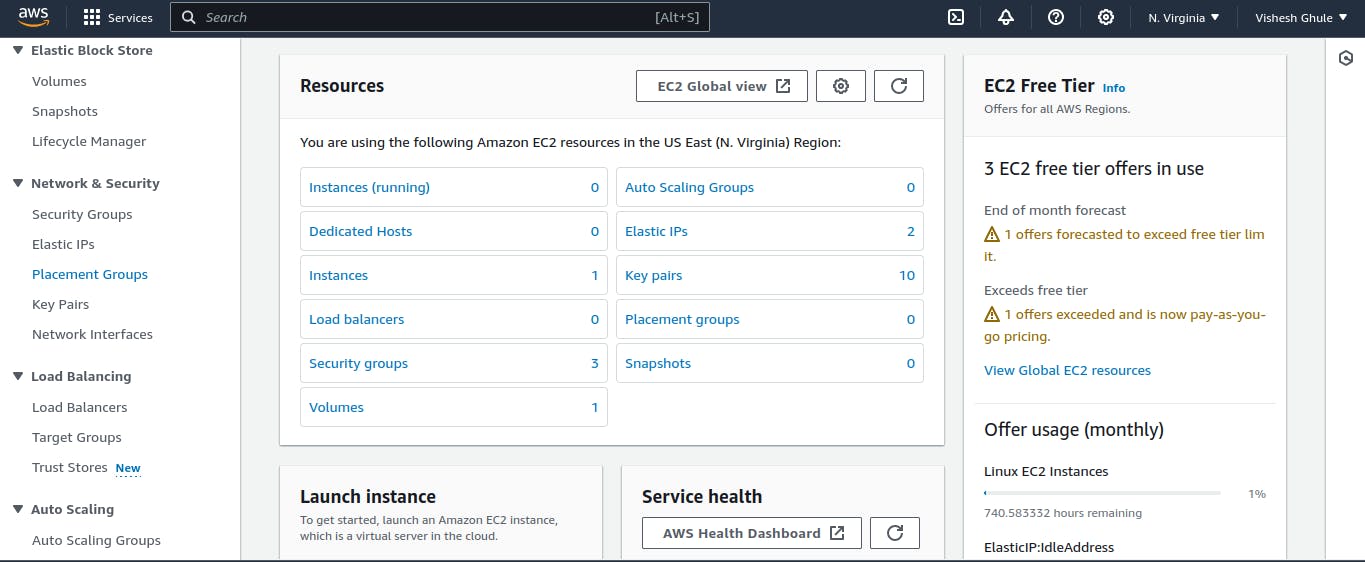
Now, you have created a VPC 👆

This is a resource architecture of your VPC.👆
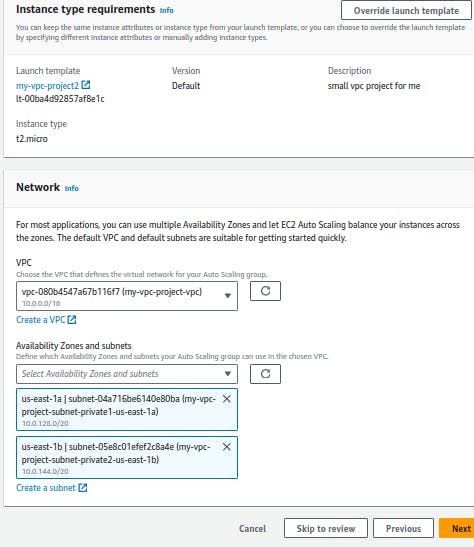
🔸Step2: Launch template & Create autoscaling group
Launch template
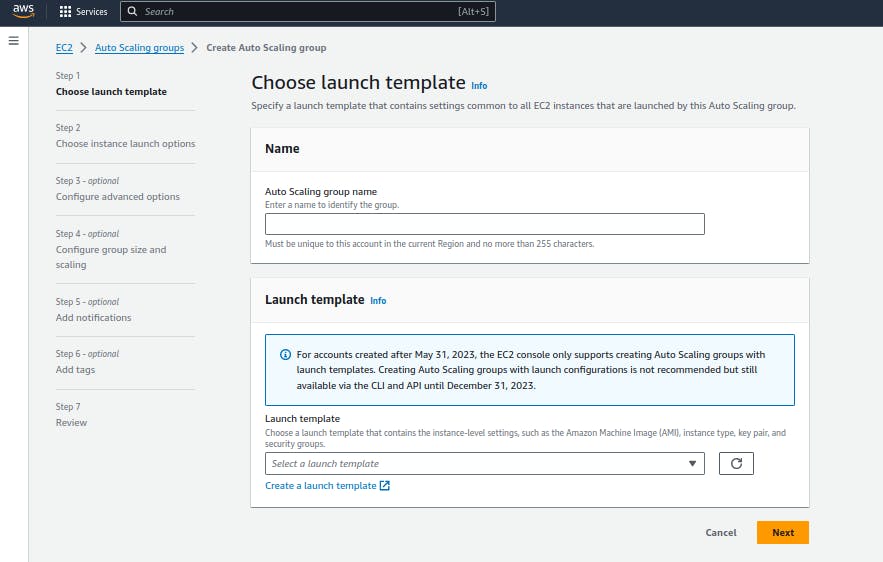
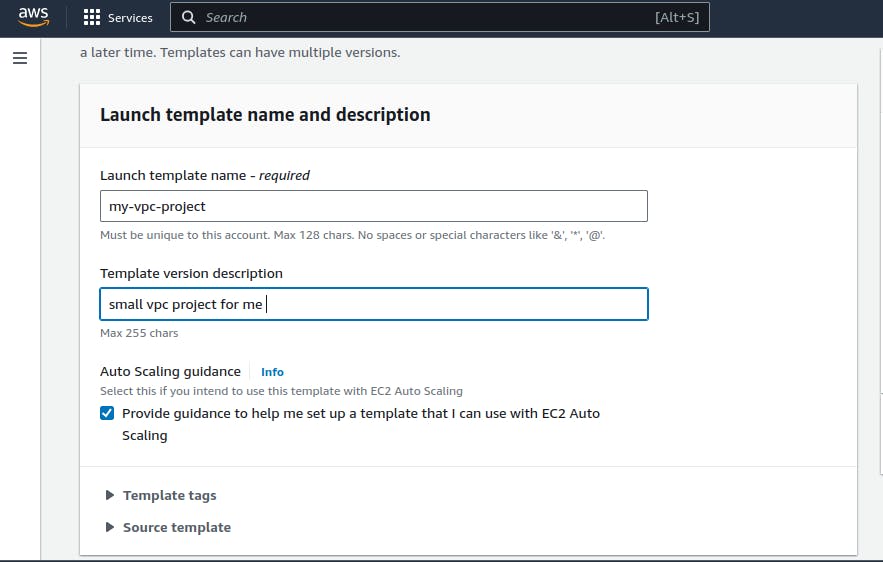
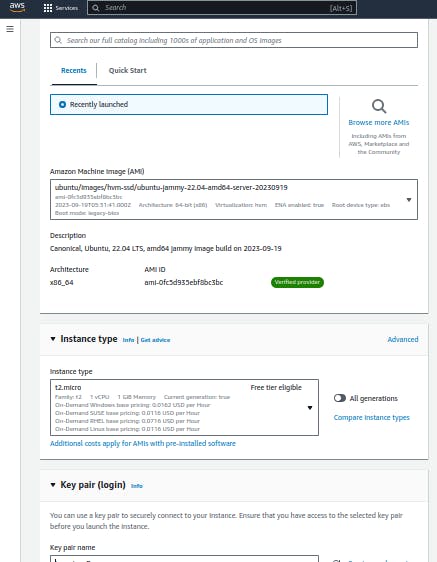
It is same as creating like ec2 instance.👇

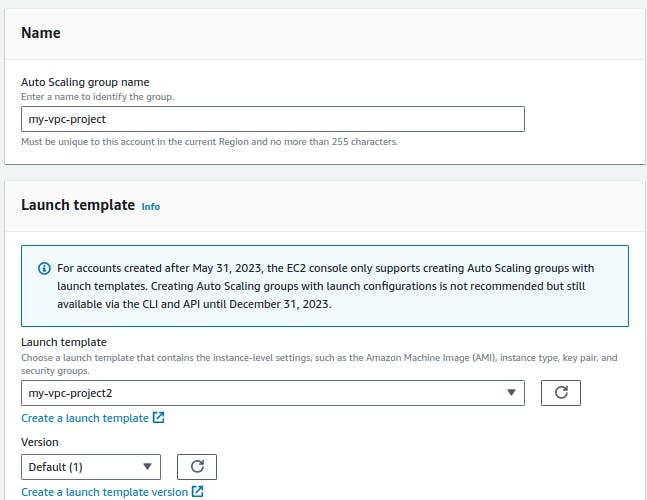
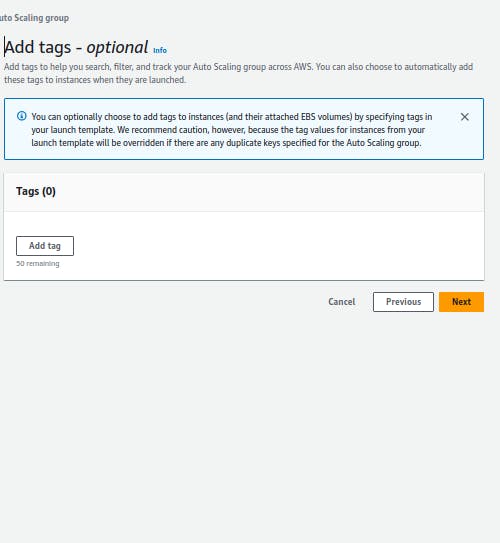
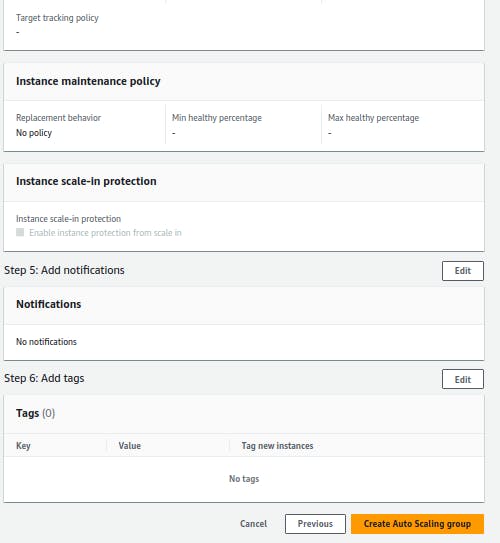
Create auto scaling group👇
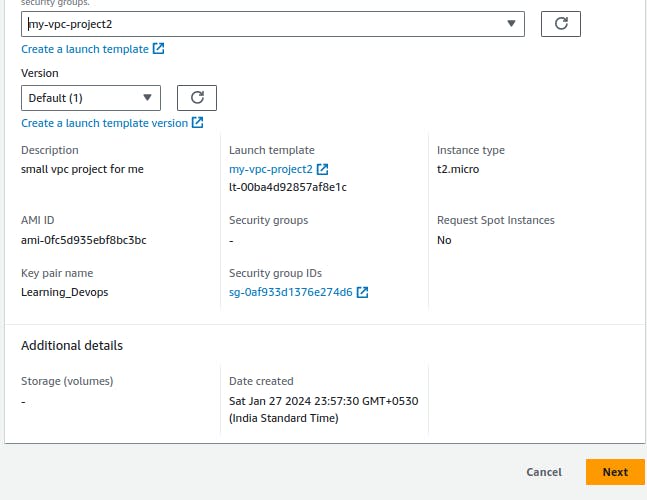
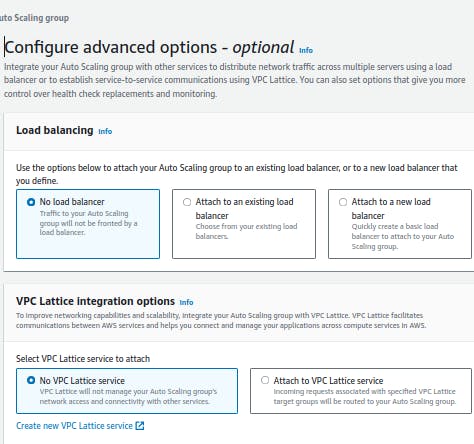

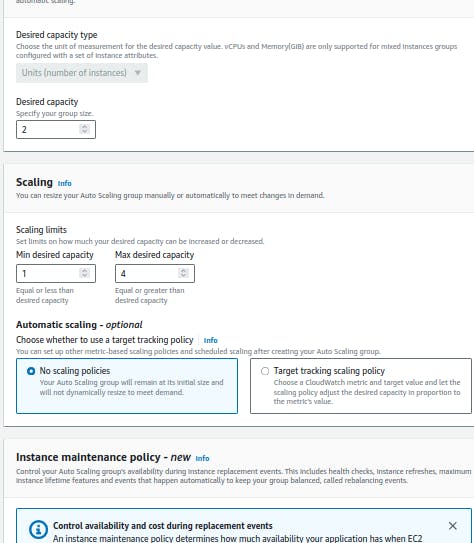

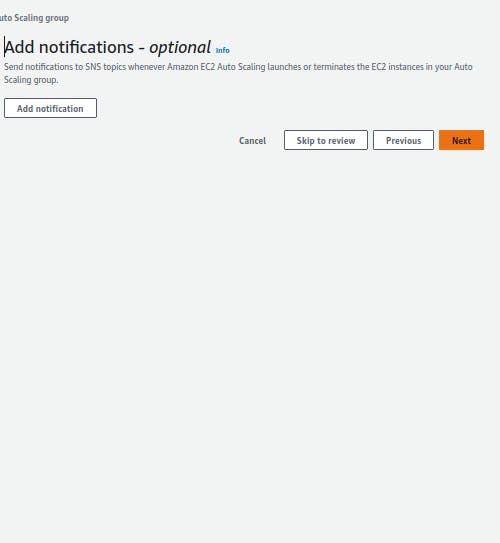
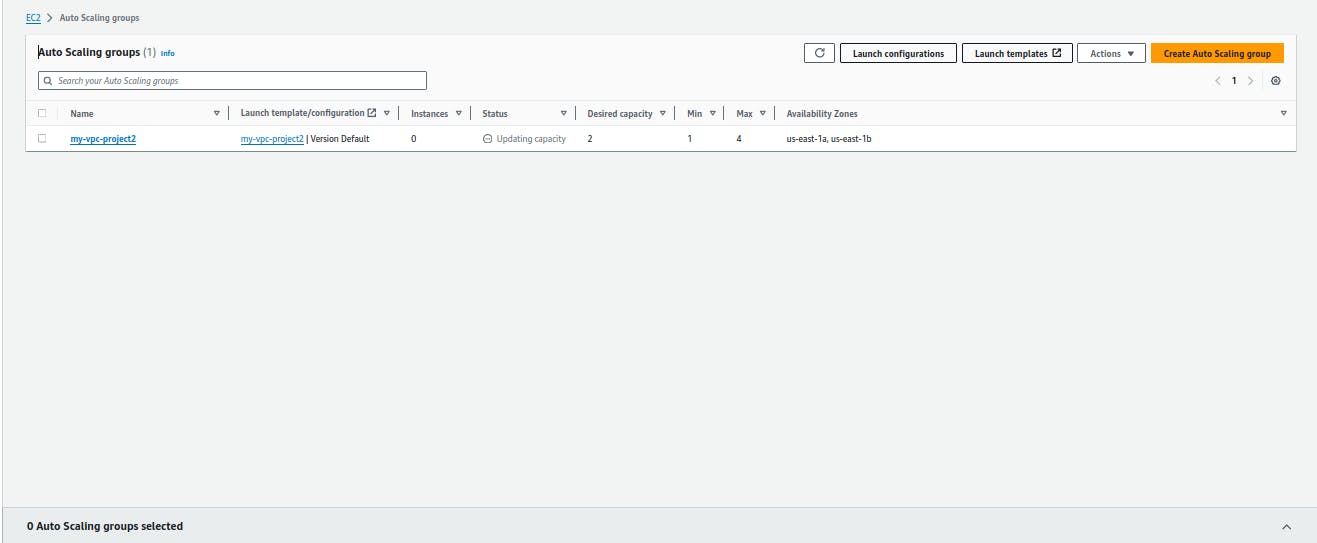
Now you have created auto sacling group👆
🔸Step3: Now launch instance
Now, go ahead and check if two private instances have been created. Next, create a public instance to do bastion host.👇


Copy your pem file from your local terminal to public subnet
use this command to copy
scp -i /your/pem/file/path /your/pem/file/path/ ubuntu@<your public instance IP>:/home/ubuntu

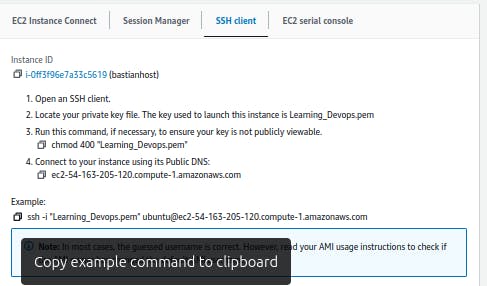
After copying pem file👆 now do ssh your public instance in your local terminal👇


Now do ssh in private instance 👇


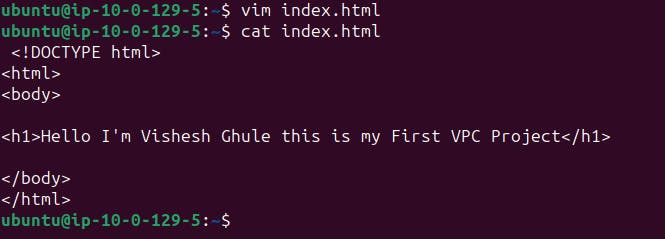
After doing ssh of private instance, create file or download any python project. This is only for example purposes.👇
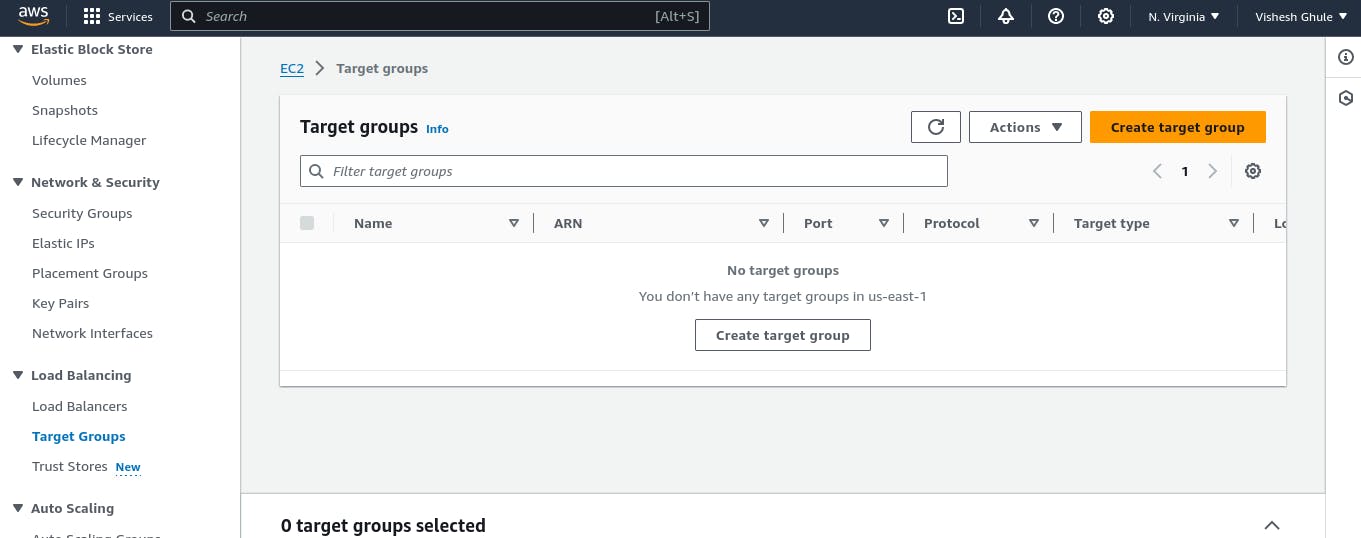
🔸Step4: Now create target group & Load balancer
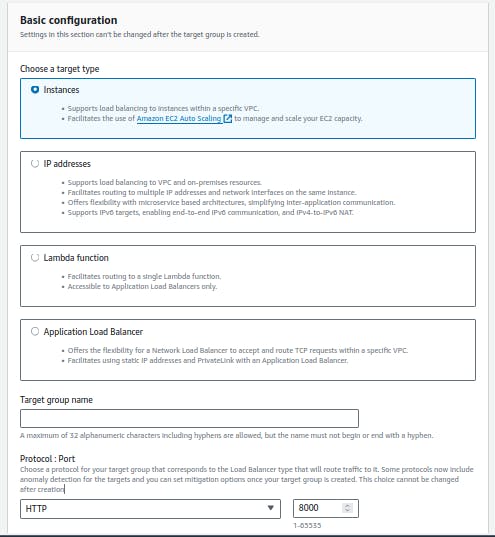
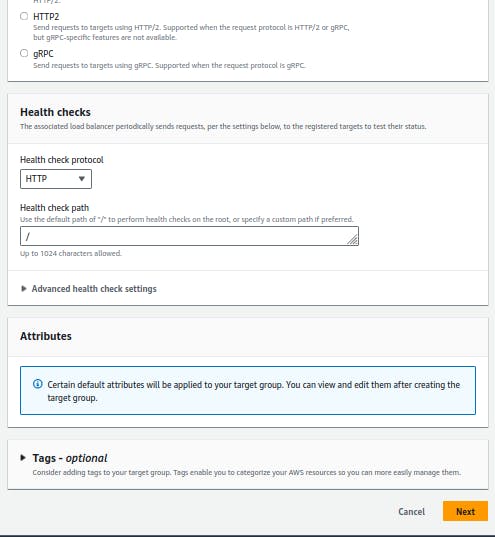
Create target group👇


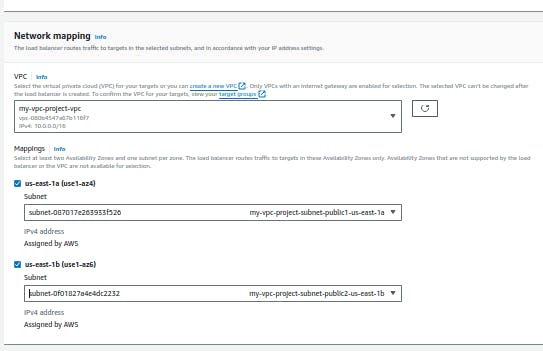
Create Load balancer👇

Select application load balancer👇


Always select public subnet here, otherwise it will show error👇

keep http 80 as default👇


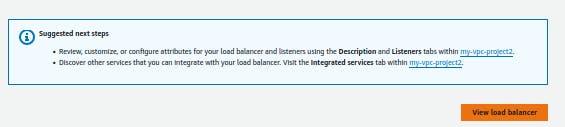
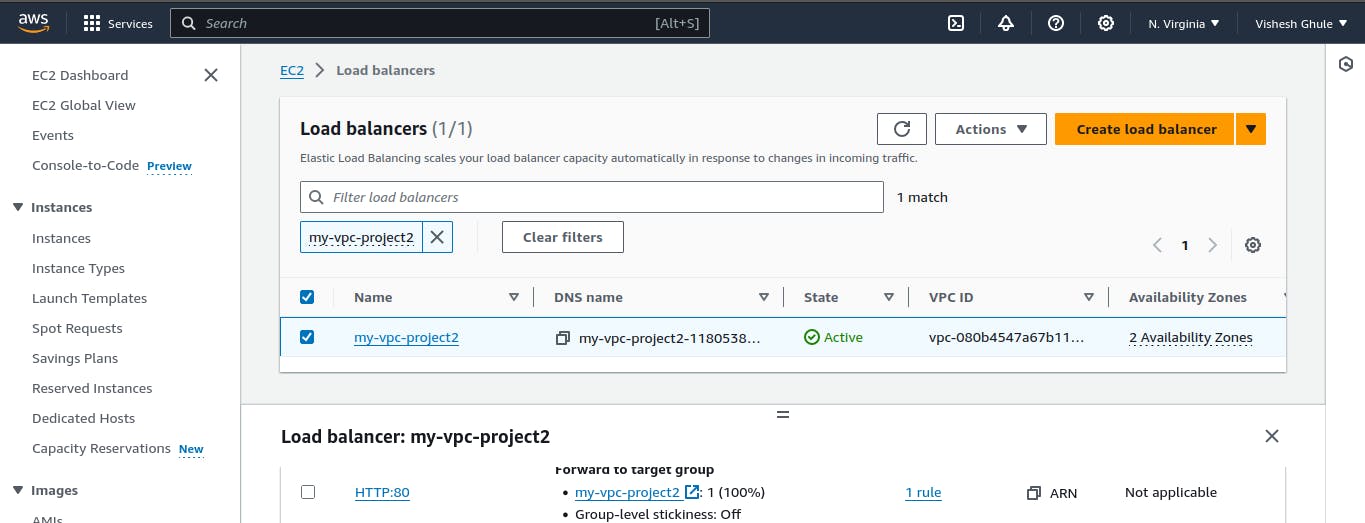
It takes some time for the load balancer to become active, so please wait for 2-3 minutes.👇

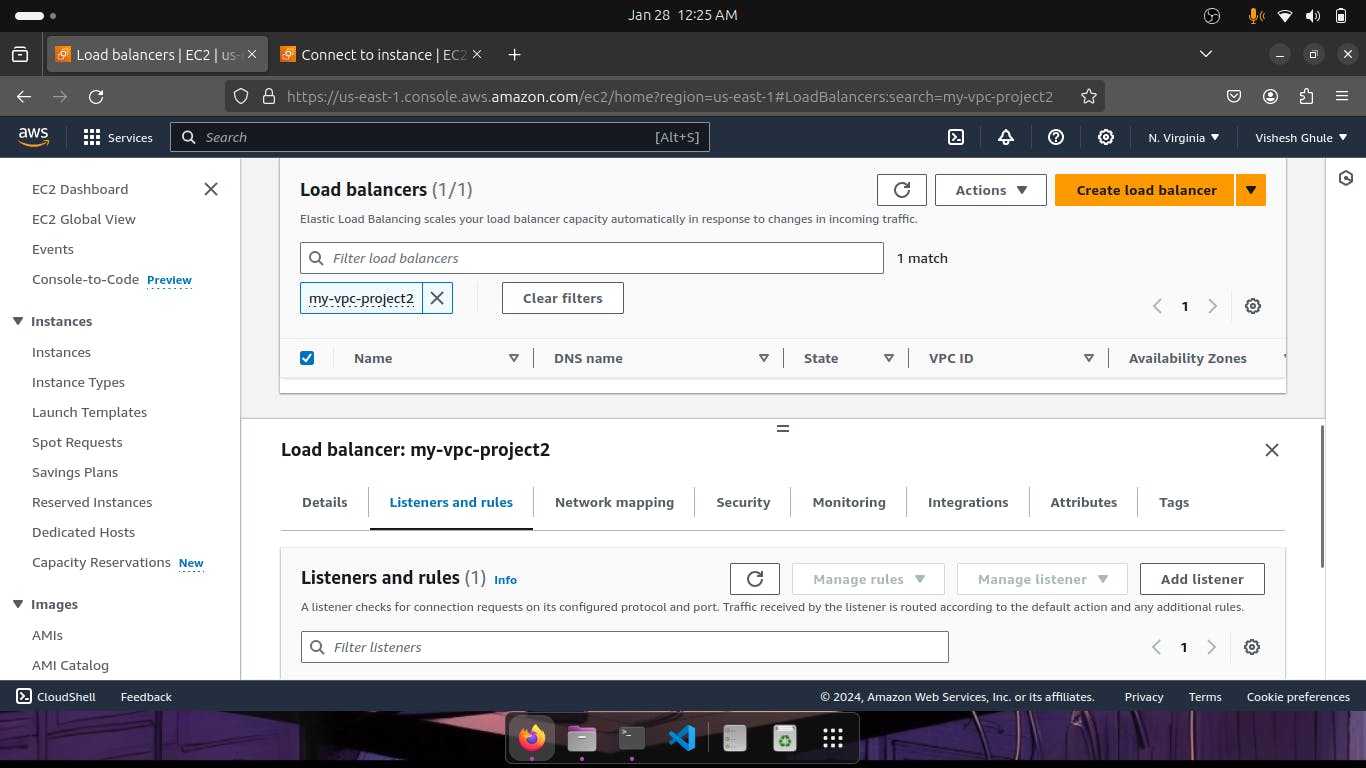
Go in listeners and rules, scroll down and you will get error like this, to solve this error edit security group👇
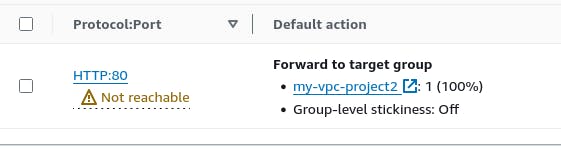
You will see there is an option of security beside the listeners & rules.👇


Add rule
Type > HTTP
Source > Anywhere IPv4👇
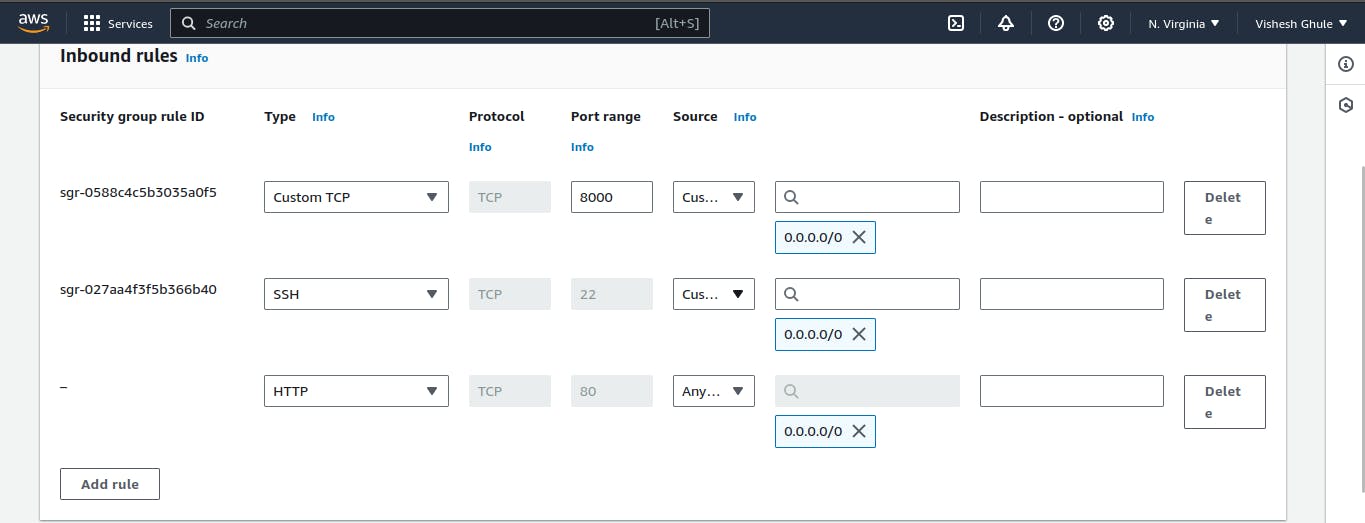
Now you can see that the error which was there before is no longer present👇
Go into the private instance where you had SSH and type this command👇
python3 -m http.server 8000

Now go in listeners and rule👇

Copy DNS name and paste it on chrome👇

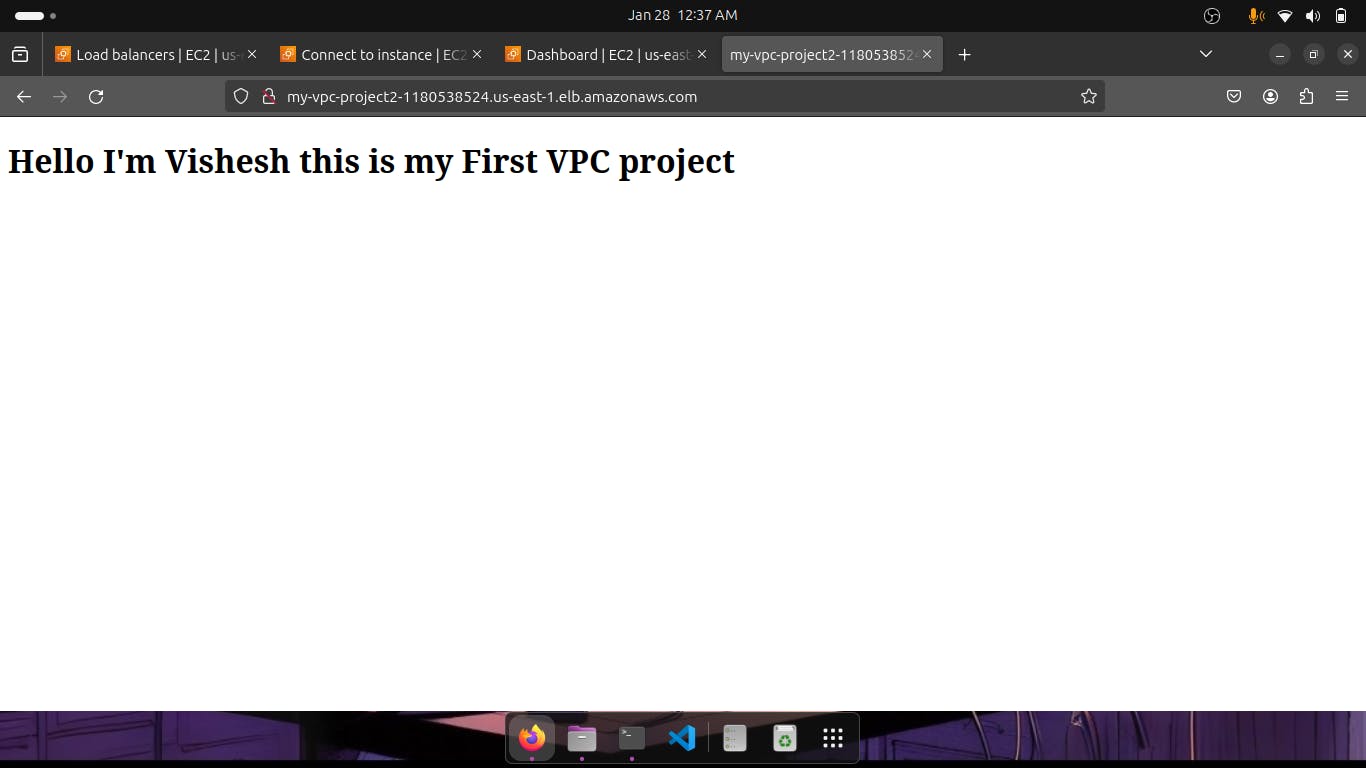
Thanks for reading to the end; I hope you gained some knowledge.❤️🙌